
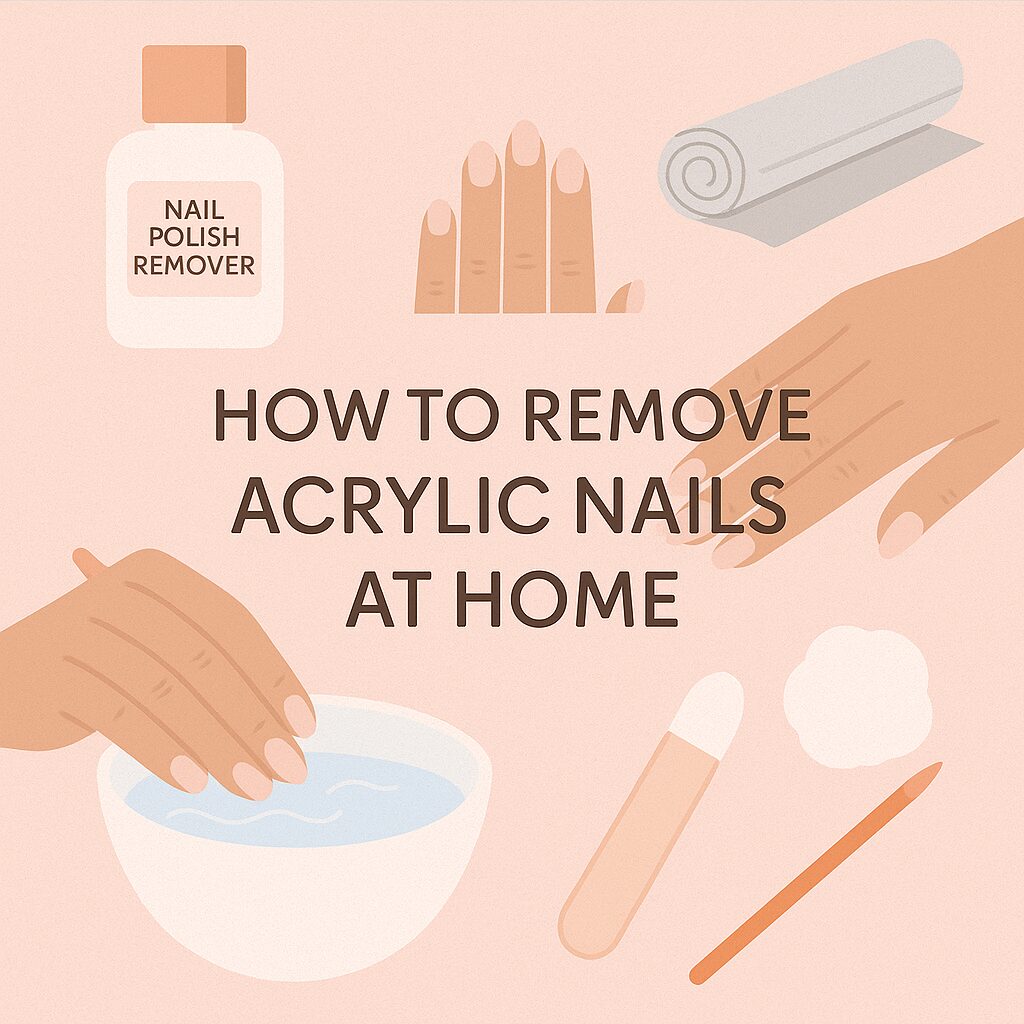
Acrylic nails are stunning — long, sleek, and endlessly customizable. But when it’s time to take them off, the real challenge begins.
If you’ve ever tried to peel or rip them off (we’ve all been tempted), you know the damage that can follow: weak, thin, and painful natural nails. The good news? You don’t need a salon to safely remove acrylic nails — just a little patience, the right tools, and proper technique.
Here’s a complete guide on how to remove acrylic nails at home the safe, salon-approved way — no force, no damage, just healthy, happy nails.
What You’ll Need
Before you start, gather a few essentials to make the process smooth and mess-free.
Tools & Materials:
- Nail file (100/180 grit)
- Nail buffer
- Pure acetone (not regular polish remover)
- Cotton balls or pads
- Foil sheets (or a reusable soak-off nail cap set)
- Cuticle pusher or orangewood stick
- Small bowl (optional)
- Cuticle oil or olive oil
- Hand cream
- Patience (the secret ingredient!)
Having everything ready makes it easier to follow each step without rushing — and trust us, rushing is what causes damage.
Step 1: Trim and File Down the Acrylics
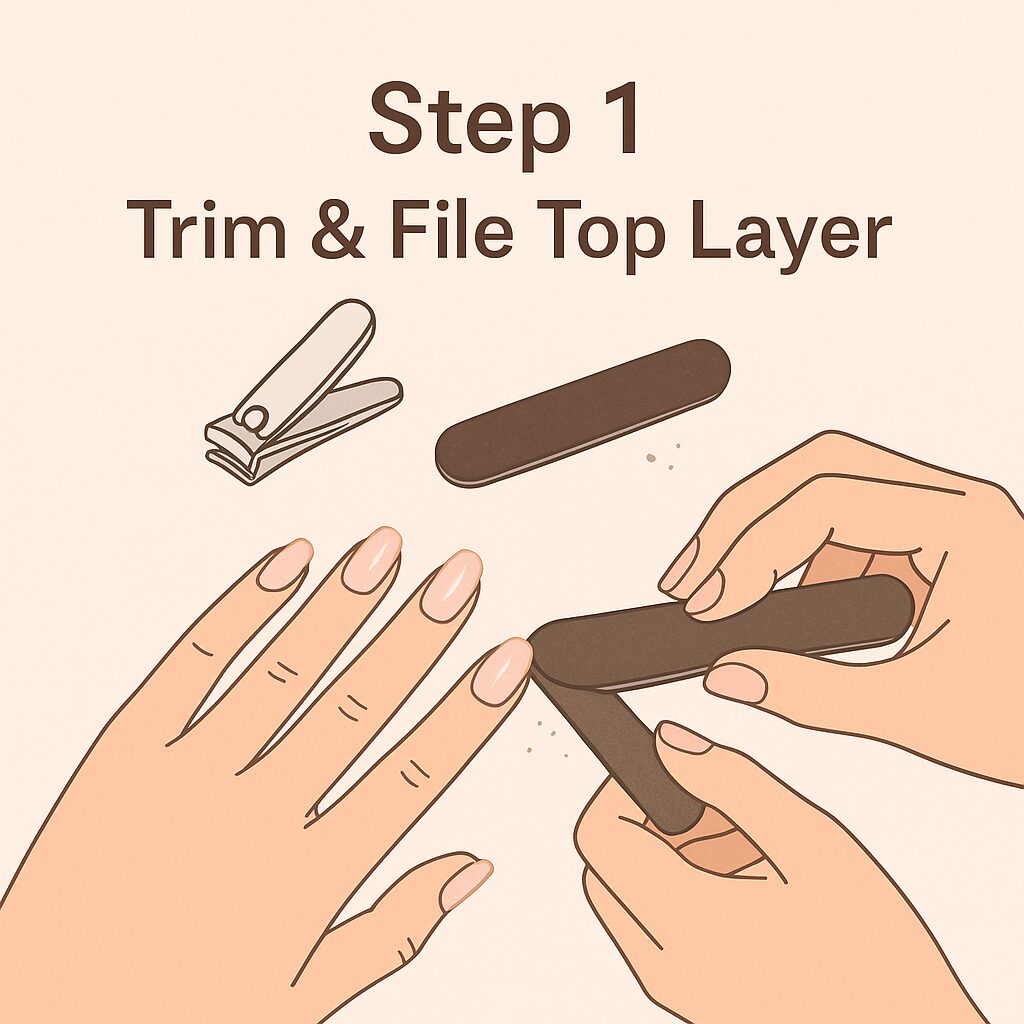
Start by trimming your acrylic nails as short as possible using a nail clipper. Don’t cut too close to your natural nail — leave a small gap.
Then, file down the top layer of the acrylic using a coarse (100-grit) nail file.
This removes the shiny top coat and helps the acetone penetrate faster.
Be gentle but thorough — your goal is to thin the acrylic layer, not file your natural nail underneath.
Step 2: Soften the Acrylics with Acetone
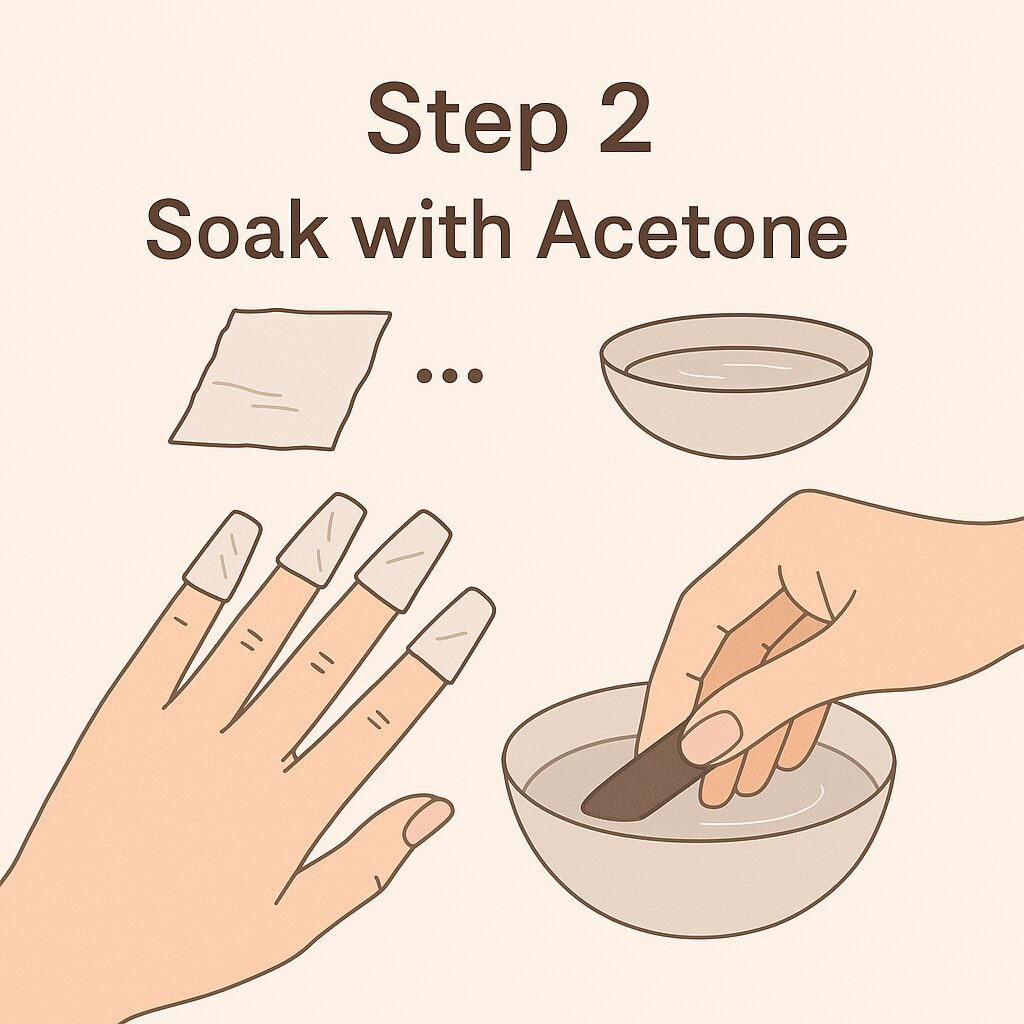
This is where the magic (and patience) comes in. Acetone is the safest and most effective way to dissolve acrylics. You have two options for soaking:
Option 1: The Foil Method
- Soak a cotton ball in pure acetone.
- Place it directly on your nail.
- Wrap the fingertip with foil to secure the cotton in place.
- Repeat for all fingers.
- Let it sit for 25–30 minutes.
The acetone will break down the acrylic so it softens and begins to lift.
Option 2: The Soak Bowl Method
- Pour pure acetone into a small glass or metal bowl.
- Apply petroleum jelly or cuticle oil around your fingertips to protect your skin.
- Submerge your nails for 20–30 minutes.
- Check every 10 minutes and gently push off loosened acrylic.
Whichever method you choose, keep the process gentle. Never scrape aggressively — let the acetone do the work.
Step 3: Gently Remove the Softened Acrylic
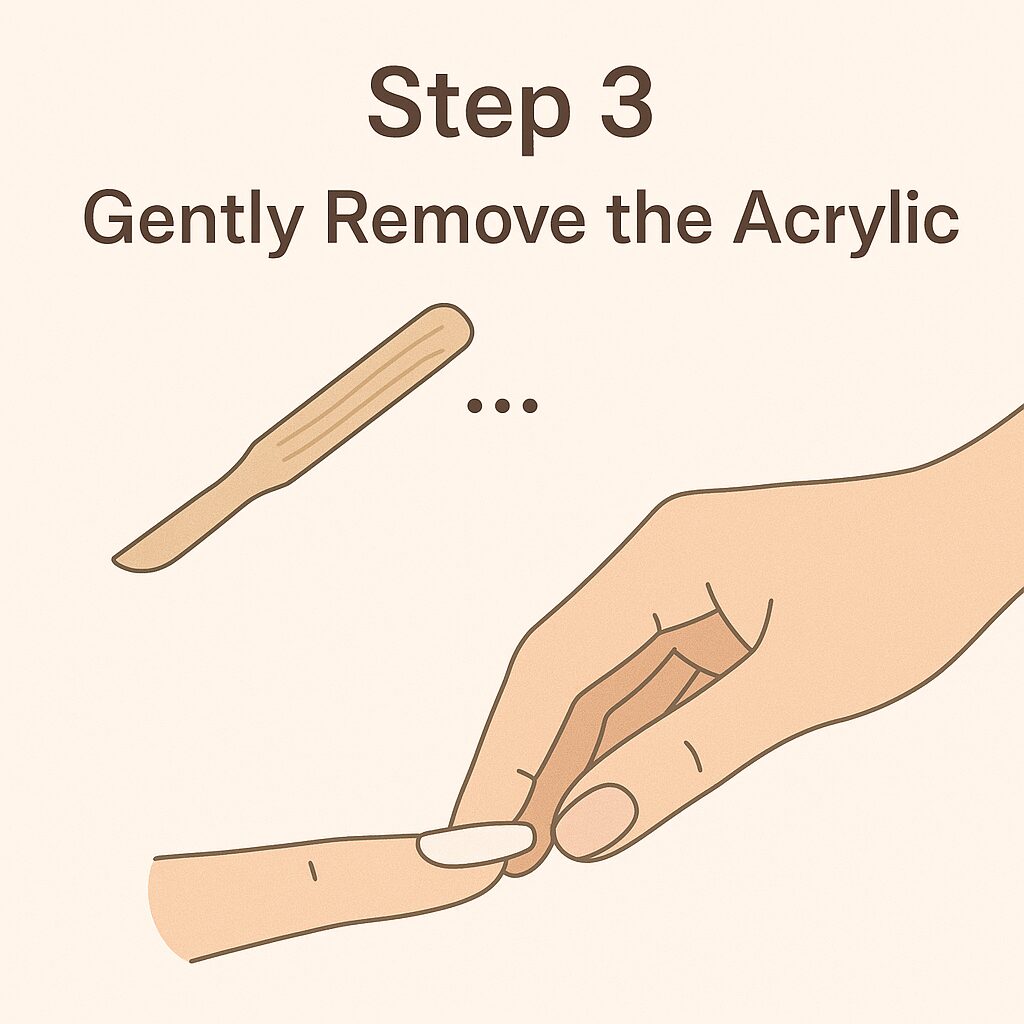
After soaking, unwrap one nail at a time. Use an orange wood stick or cuticle pusher to gently nudge the softened acrylic off your natural nail.
If some acrylic is still stuck, don’t force it — rewrap the nail with acetone and let it soak another 5–10 minutes.
Forcing off acrylic can peel away layers of your natural nail, leaving them thin and sore — so take your time.
Step 4: Buff the Nail Surface
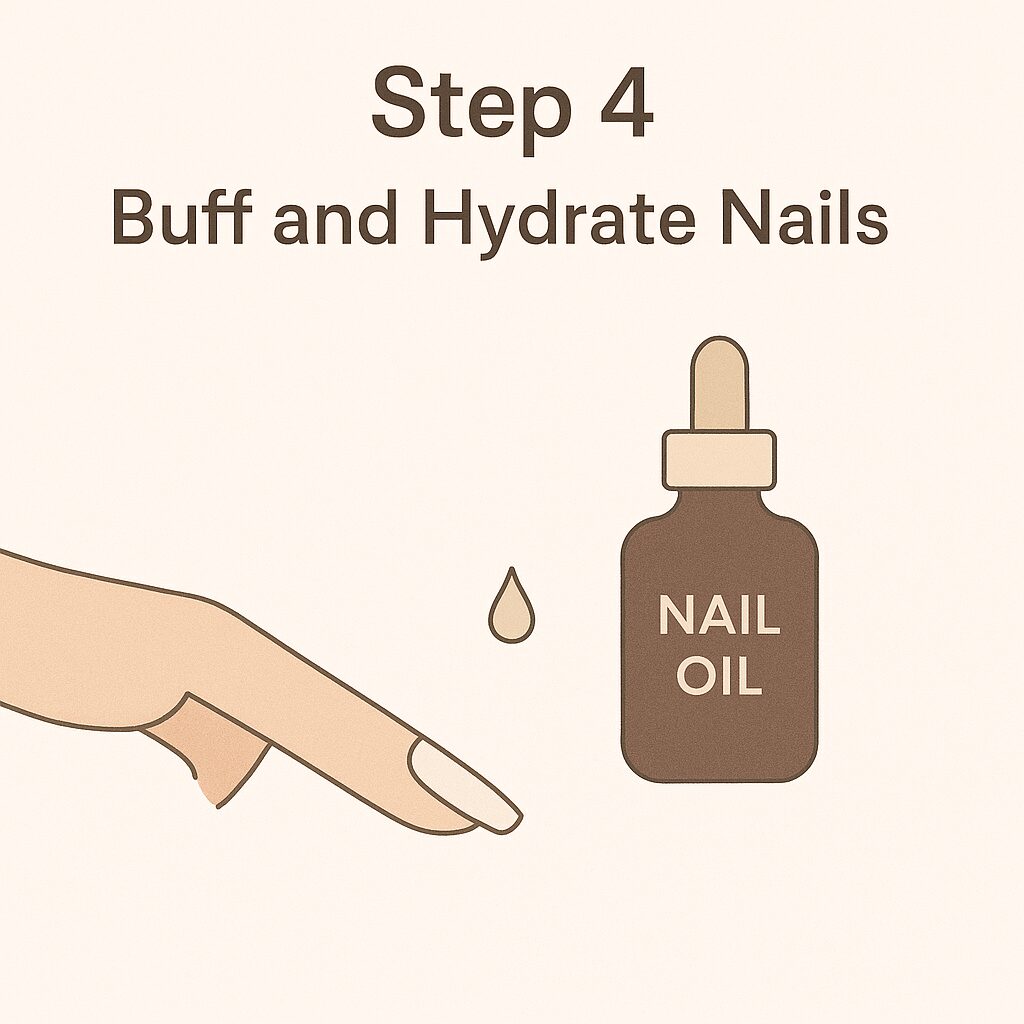
Once all the acrylic is removed, your nails may feel rough or uneven.
Use a fine-grit buffer to smooth the surface and remove any remaining acrylic residue.
Be careful not to over-buff — just even out the texture gently.
After buffing, wash your hands thoroughly to remove any acetone traces.
Thinking of a lighter alternative next time? Here’s a full comparison of Acrylic vs Polygel Nails.
Step 5: Re-hydrate and Repair
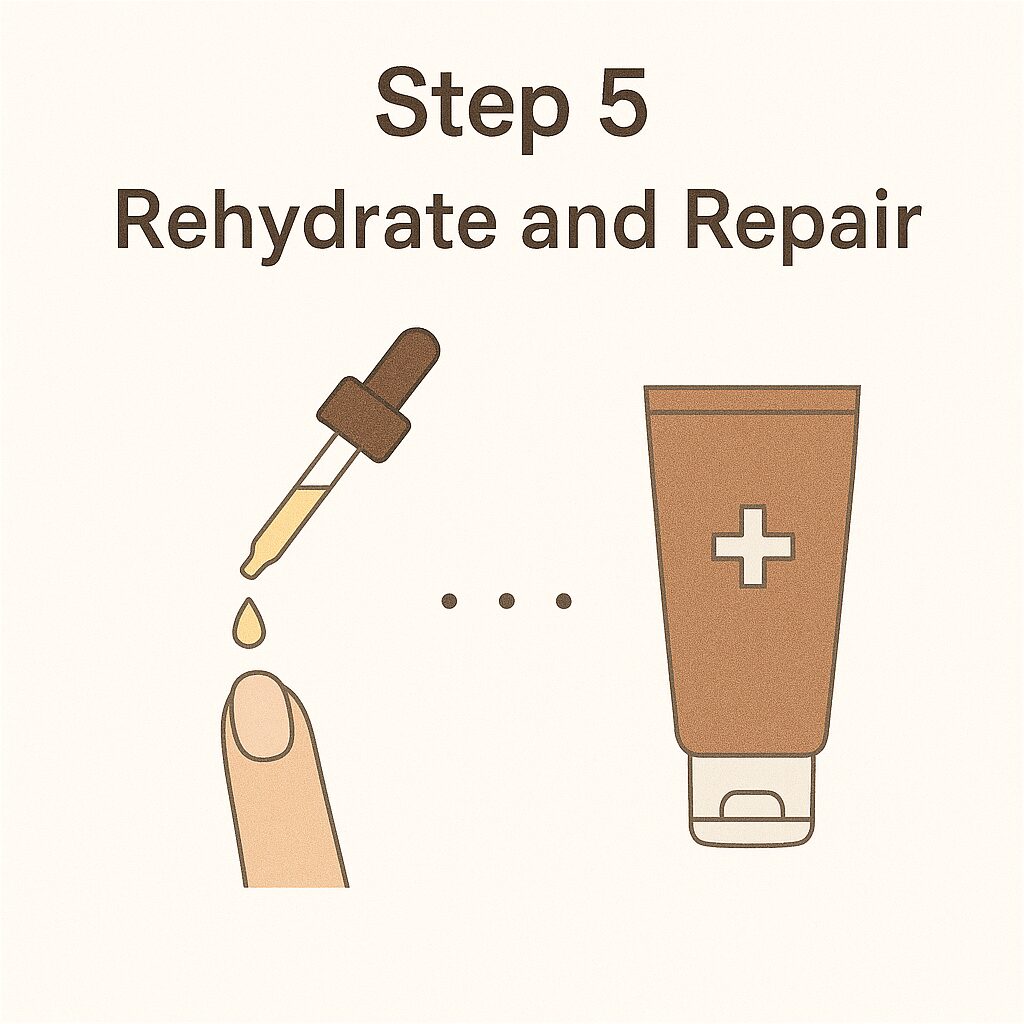
Acetone can strip your nails and skin of natural oils, so this final step is all about restoration.
- Massage cuticle oil into your nails and surrounding skin to rehydrate.
- Apply a rich hand cream or moisturizing lotion.
- For extra nourishment, soak your nails in warm olive oil for 10 minutes — it restores flexibility and shine.
If your nails feel especially weak, use a nail strengthener or apply a layer of builder gel or strengthening polish for protection.
Optional: The Non-Acetone (Gentler) Method
If you prefer to skip acetone or have sensitive skin, you can use a non-acetone removal approach — though it takes longer.
You’ll need:
- Warm water
- A few drops of dish soap
- A splash of olive oil
Steps:
- Mix ingredients in a bowl and soak your nails for 20–30 minutes.
- Use a cuticle pusher to gently lift and loosen the acrylic.
- Repeat as needed.
This method is slower but far less drying and great for fragile nails.
How to Strengthen Nails After Removing Acrylics
Your nails may feel thin or flexible after removal — that’s completely normal. Acrylics can leave nails a bit dehydrated, so focus on recovery for the next 1–2 weeks.
Nail Recovery Tips:
- Keep nails short to prevent breakage.
- Apply cuticle oil twice a day.
- Use a strengthening treatment with keratin or calcium.
- Avoid polish for at least 3–5 days to let nails rebalance.
- Eat foods rich in biotin and zinc for natural regrowth (like eggs, nuts, and leafy greens).
What NOT to Do When Removing Acrylic Nails
Acrylic removal mistakes can cause long-term nail damage. Avoid these common pitfalls:
1. Peeling or pulling them off
This tears away your natural nail layers and can take months to repair.
2. Using metal tools to scrape aggressively
Only remove what easily lifts — never dig or scrape the surface.
3. Skipping aftercare
Acetone dries nails, so skipping hydration makes them brittle and prone to breakage.
4. Using acetone on broken skin
It can sting and irritate — always protect cuticles with a little oil or petroleum jelly.
5. Rushing the process
The longer the soak, the easier and safer the removal. Patience prevents damage.
Alternative: E-File or Professional Removal
If your acrylics are thick, layered, or heavily designed, consider using a nail drill (e-file) or visiting a salon for removal.
A professional technician can file off the acrylic safely with minimal damage, especially if your nails are already fragile.
If you do this at home, only use a fine sanding band and keep the drill moving — never press in one spot. Always follow with oil and moisturizer.
FAQs
Q1: Can I use regular nail polish remover instead of acetone?
No — regular remover doesn’t contain enough acetone to dissolve acrylics effectively. You’ll need 100% pure acetone for best results.
Q2: How long does it take to remove acrylic nails at home?
Typically 30–45 minutes, depending on thickness and method.
Q3: Can I reuse the same foil and cotton setup?
It’s better to use fresh cotton for each soak to maintain acetone strength.
Q4: Why do my nails feel weak afterward?
Acrylic removal removes protective oils, making nails feel temporarily soft — hydration restores strength within days.
Q5: How soon can I get new acrylics?
Wait at least one week, focusing on repair and nourishment before applying a new set.